Published: October 22, 2026 | Last Updated: October 22, 2026
High-Rise Fire Escape Guide: Evacuation, Smoke
Protection & Escape Rope
This practical high rise fire escape guide walks residents, office workers and hotel guests through the split second decisions that save lives when a fire starts above or below you. It covers judging whether to leave, protecting your airway in thick smoke, and choosing between evacuation, shelter and rope escape before the alarm ever sounds.
1. High Rise Fire Statistics & Reality
2. The 3 Options: Escape, Shelter, Rappel
3. Smoke Protection Techniques
4. Essential Escape Equipment Checklist
5. Escape Rope: How to Choose & Use
6. Apartment vs Office vs Hotel
7. Building Fire Safety Features
8. Key Points to Confirm9. FAQ
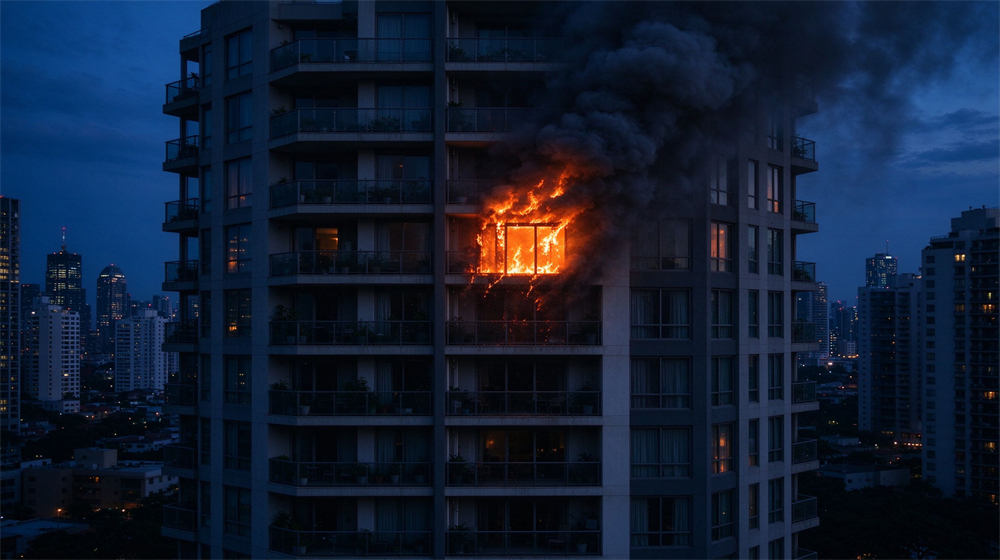
Most people survive high rise fires because they make the right choice in the first ninety seconds, not because they fight the fire. The choice is simple once you know it: feel the door, read the smoke, and either leave calmly down the enclosed stairwell or stay put and seal your room. Confusion during that minute is what sends people into elevator lobbies, onto balconies with no rope, or back inside for a phone. This guide turns the confusion into a short script you can remember under pressure.
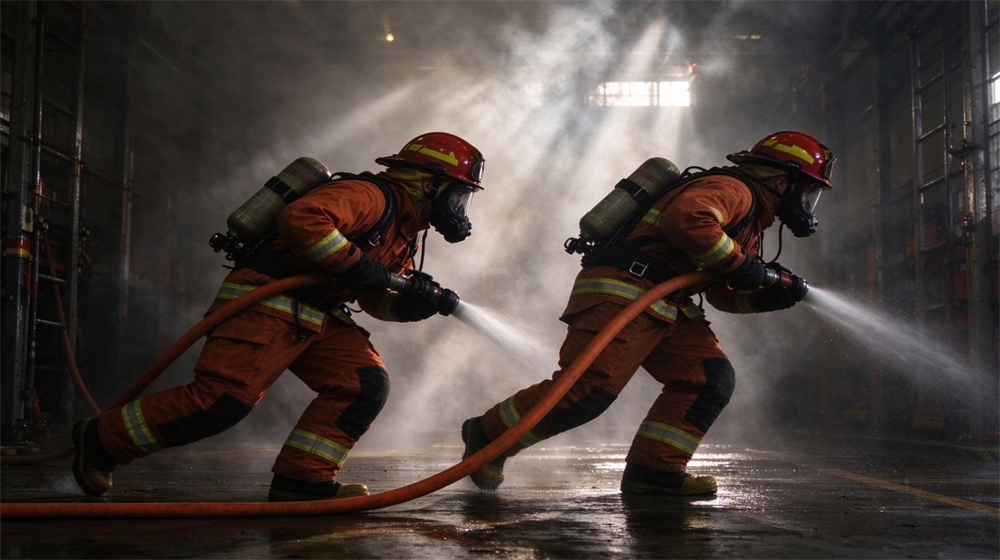
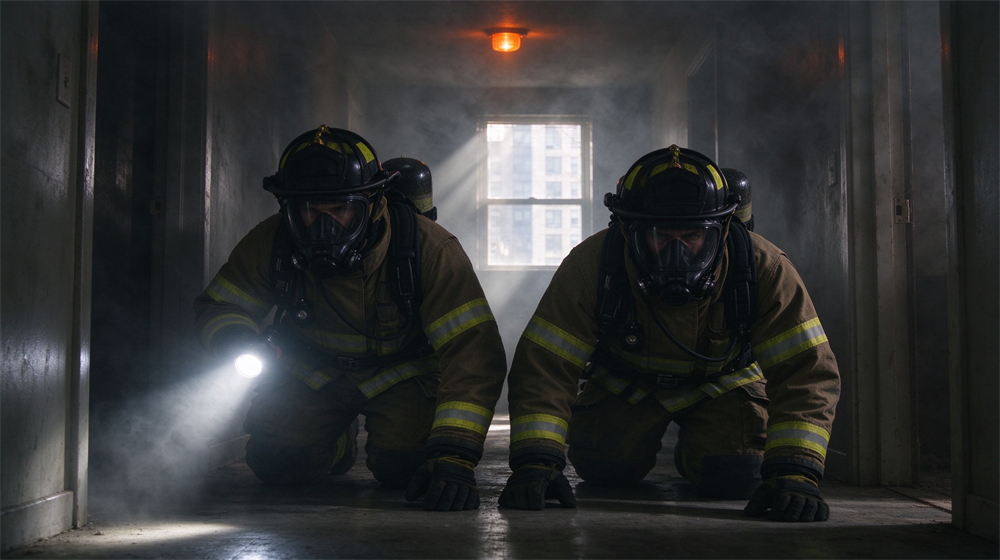
Smoke, not flame, is the killer. In a high rise fire, hot combustion gases rise up stairwells and open shafts, spreading far beyond the original apartment. Within minutes a hallway that looked clear can become a blackout, heat stressed corridor. People who stand up and walk through upright fill their lungs with superheated gas and collapse before they reach the exit. The single most useful habit you can build today is to stay low, cover your airway, and move on hands and knees where the last breathable air sits.
Equipment matters, but only the equipment you actually know how to use. An expensive escape rope in a sealed box on a high shelf is useless if nobody in the household has practiced putting on the harness. A fire blanket stored under the kitchen sink is reachable. A smoke hood left in its packaging is not. The rest of this guide matches each piece of fire escape equipment checklist logic to the room you are in, the floor you live on, and the people you share a building with.
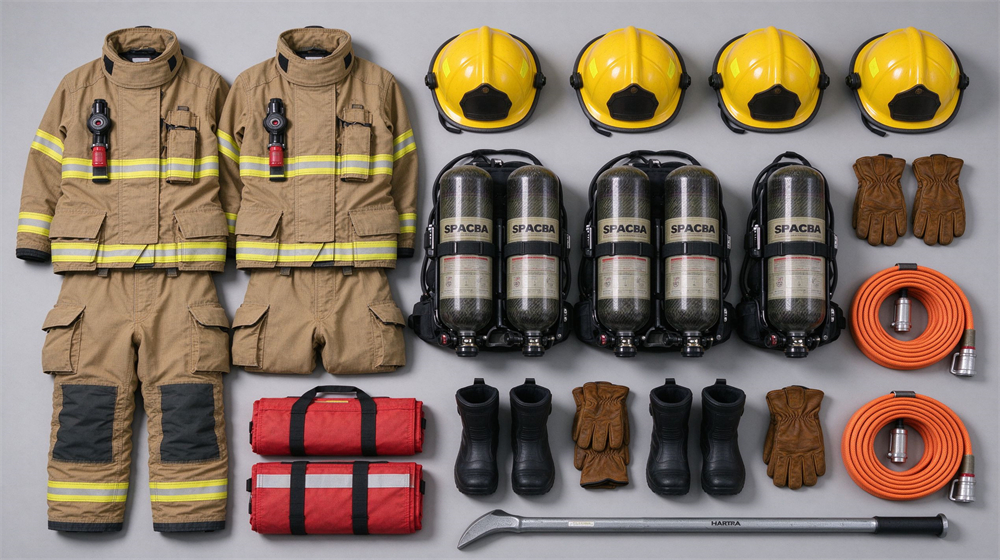
If you take away only one thing from this page, make it this: high rise evacuation is almost always a stairwell walk, not a jump, not a rope descent, and never an elevator. Firefighters carry oxygen tanks, helmets and turnout gear into burning buildings so that you, the resident, can walk down ordinary stairs in your ordinary clothes. Your job is to leave the building quickly, keep the stairwell clear for responders going up, and meet your household at the outdoor meeting point. Everything below explains how to make that walk safe when smoke makes it ugly.
High rise buildings concentrate people vertically. A fire on the eighth floor can affect residents on floors five through twenty before the first truck reaches the block. Most serious injuries come from smoke inhalation during the first minutes, not from direct burn contact. Residents who wait to see flames, who stop to pack belongings, or who open a door into a smoke filled corridor are the ones who end up on stretchers.
A clear high rise fire escape guide exists because the building code, the fire service, and your own habits have to align before you ever smell smoke. The model codes behind that expectation are published by NFPA. The discipline of building fire evacuation is built in calm minutes, not in the first blackout.
The reality on the ground is that elevators are a trap. Power can cut, the car can open on the fire floor, and the shaft itself becomes a chimney. Stairwells are built to resist fire for a defined duration, but only if the doors between stairwell and hallway stay closed. A propped open fire door on the fourteenth floor turns the protected stairwell into part of the hazard. When you evacuate, close every door behind you. This single habit protects the people on the floors above and below.
Modern apartments burn cleaner than old wooden tenements, but they also burn faster. Plastics, foam furniture, cable insulation and synthetic decor release hydrogen cyanide, carbon monoxide and acrolein in the first minutes. Carbon monoxide is the silent component the CDC flags as a leading fire related killer. You may take three breaths and lose consciousness. This is why smoke protection fire training starts with the airway, not with the hands. A wet towel over the nose buys time; a fitted smoke hood fire escape hood buys more minutes. Either way, the direction of travel is down and out, not toward the window.
Firefighters arriving on scene face a building they did not design. They do not know which apartment is yours, whether the door is locked, or whether a child is hiding in a closet. Your most useful contribution to their work is to leave a clear path, close doors, and assemble at the meeting point so the headcount is easy. A resident who self evacuates correctly frees a firefighter to go find the person who could not move on their own. This high rise fire escape guide exists to make building fire evacuation smoother for responders outside.
|
Threat |
Where It Hits You |
Immediate Response |
|
Toxic smoke |
Hallway, stairwell, upper air |
Stay low, cover airway, move out |
|
Hot gas through door |
Around entry door seal |
Feel door, do not open if hot |
|
Elevator shaft chimney |
Lobby and elevator lobbies |
Never use elevator |
|
Locked stairwell door |
Egress path |
Use exit stairs, do not re enter floor |
|
Trapped in apartment |
Inside unit |
Seal door, call 119, signal window |
When the alarm sounds, you have three realistic paths. Most people only imagine the first one, walking down the stairs. A smaller group correctly shelters in place. A tiny, trained minority uses a personal escape rope. Choosing between them is a judgement you make in seconds, and the judgement is based on one test: the temperature of your door. This high rise evacuation options decision is the core of the whole page.
If your door is cool to the touch and the hallway outside shows no smoke, you leave. Take your keys, put on shoes, grab the fire escape equipment checklist items that sit by the door, and close the apartment door behind you. Do not stop for laptops, jewelry or pets beyond what you can carry in one trip. Walk down the enclosed stairwell, keep to the right so firefighters can pass going up, and continue down until you are outside. Do not re enter the building for any reason until the fire service says the all clear.
If the stairwell itself is smoky when you open the door, do not descend. Close the door and move to Option 2. A stairwell that fills with smoke is no longer a safe exit, and walking into it turns you into a casualty the crew has to rescue.
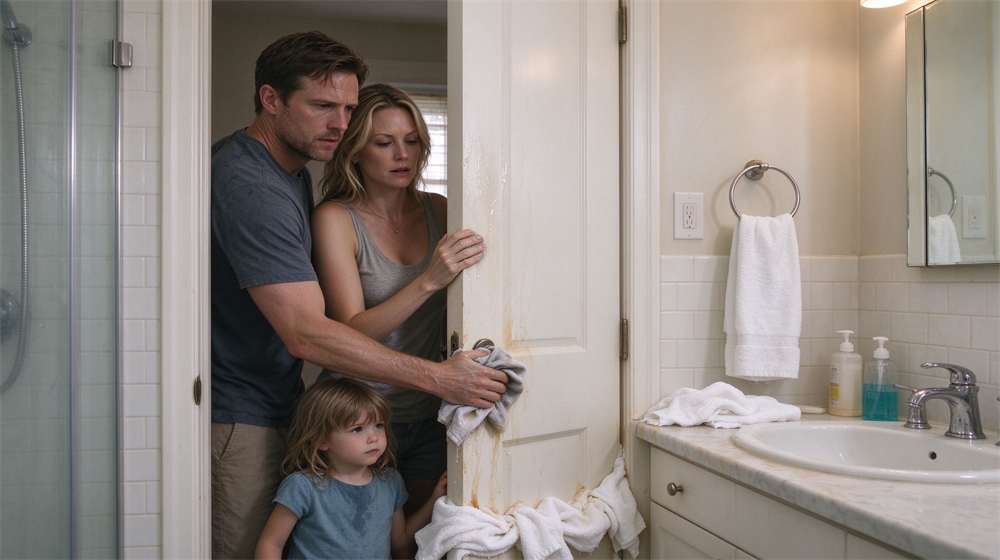
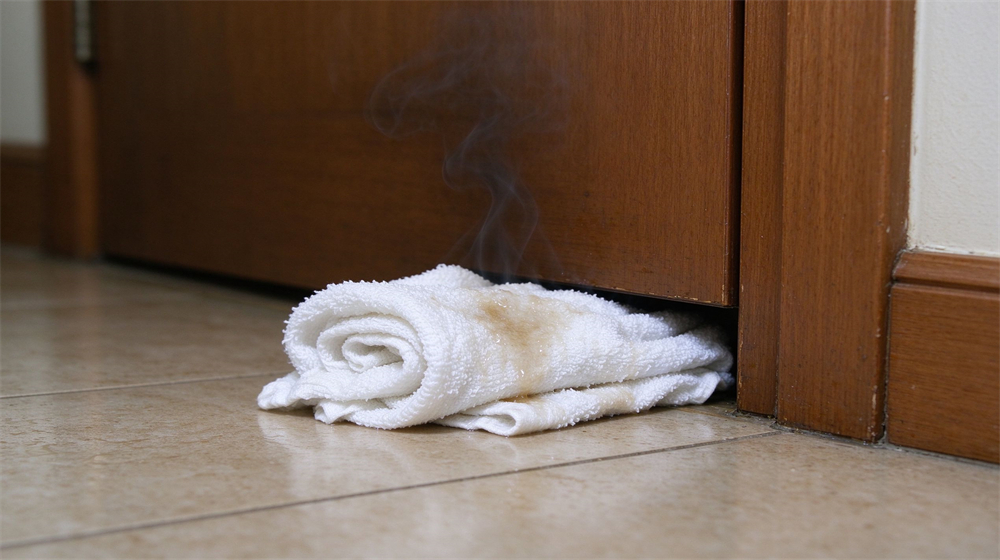
Fire shelter in place means staying inside your apartment or hotel room when the corridor is unsafe. Choose a room with a window and a phone, ideally an interior bedroom or bathroom away from the fire side. Roll wet towels and jam them under the door and any vent that feeds smoke in. Call the fire service, tell them your exact floor and room number, and stay low near the window. Signal by waving a bright cloth or shining a flashlight. This is not hiding; it is a temporary rescue booth.
Sheltering works because modern apartment doors are rated to resist fire for a defined period. A closed, sealed door buys you thirty minutes or more. That window is long enough for firefighters to reach your floor. The mismatch people make is opening the door every few minutes to check, which lets fresh smoke pour in. Once you have sealed up, leave it sealed. Practiced fire shelter in place turns a locked bathroom into a rescue booth, not a panic room.
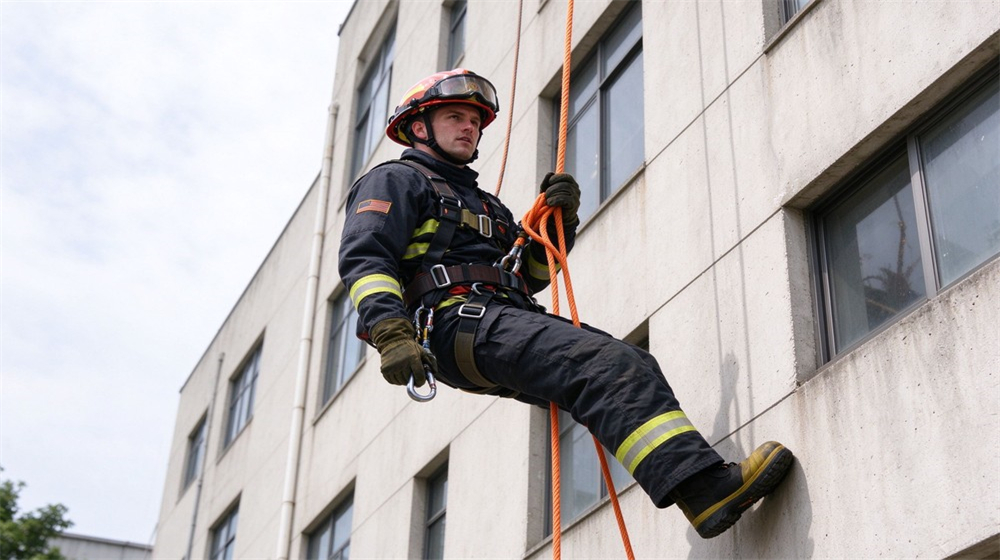
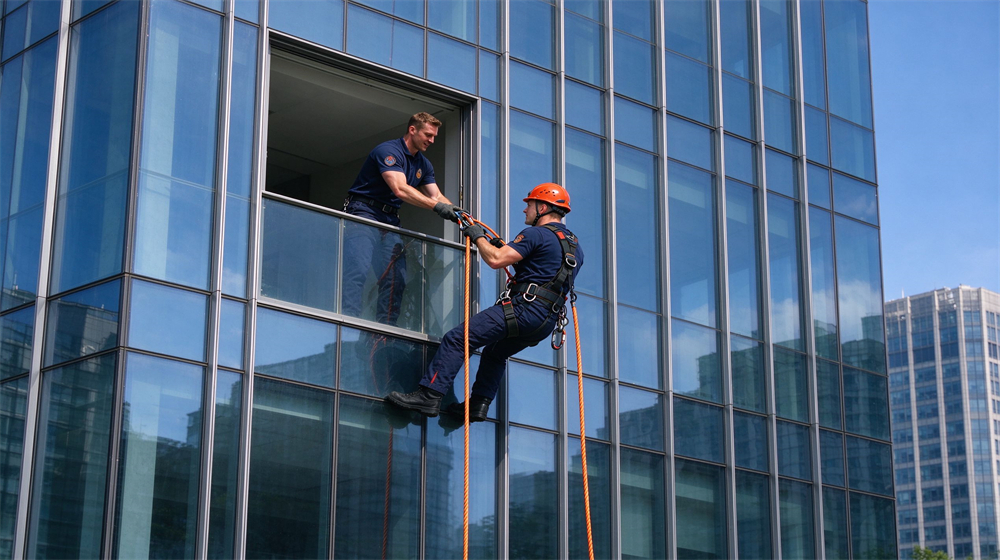
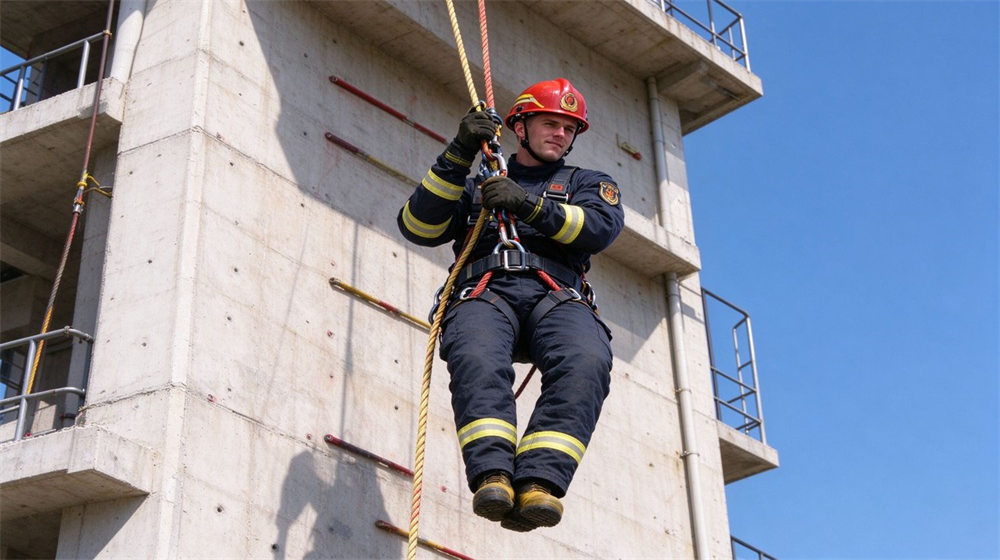
Rappelling out a high rise window is Option 3, not Plan A. It is the choice when stairs are fully blocked, your room is filling with smoke, sheltering is struggling, and rescue cannot reach you in time. It requires a fire escape rope for high rise, a fitted harness, a controlled descender, and a real anchor point. Without all four, climbing out a window is a fall, not an evacuation. In short, rope escape is for trained, prepared residents on lower to middle floors, not for a panicked first timer on the twentieth floor.
|
Signal You Feel |
Correct Choice |
What You Do Next |
|
Door cool, hall clear |
Escape down stairs |
Close door, walk out, meet outside |
|
Door warm, smoke under gap |
Shelter in place |
Seal door, call 119, wait by window |
|
Stairwell smoky on your floor |
Return to shelter |
Do not descend through smoke |
|
Room filling, no rescue visible |
Rappel as last resort |
Anchor rope, harness, controlled descent |
You have maybe three to five unprotected breaths in a heavy smoke condition. That is not enough time to find your shoes, let alone walk eleven floors. The techniques below are the ones that extend those breaths from seconds to minutes, and they work in apartments, offices and hotels alike. They cost almost nothing except habit. Mastering smoke protection techniques is the single highest return habit on this page.
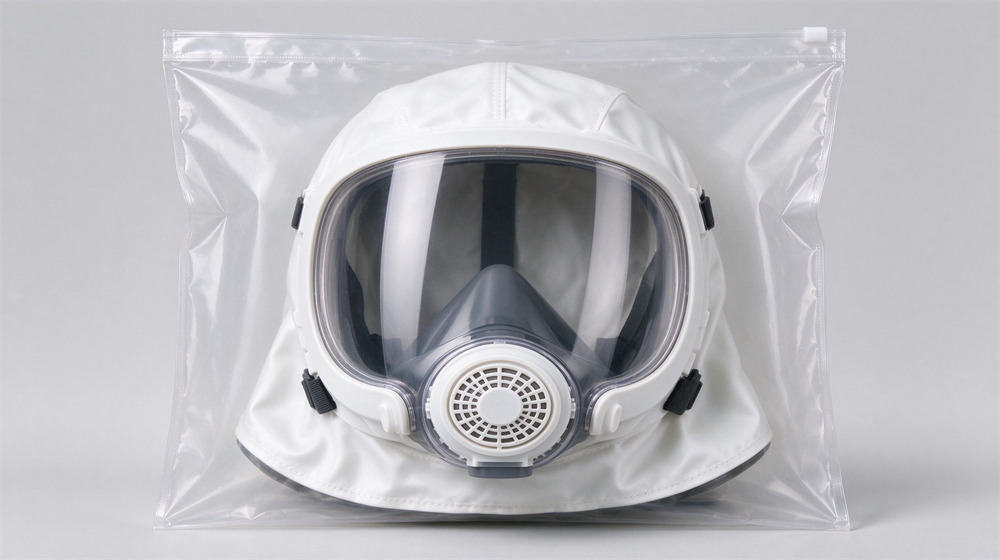
A wet cloth folded several times over your nose and mouth filters some particles and cools the air you inhale. It is not a gas mask, but it is better than nothing. A consumer smoke hood fire escape hood, stored in its pouch near the bed, is the upgrade. It has a particulate and CO filter plus a clear visor, giving you a few calm minutes of breathable air. Pull it on before you open the door. Do not wait until smoke is in your face, because fumbling with packaging while choking is exactly when people drop the hood.
For apartment fire safety in households with children, teach them that the hood goes on first, shoes second, door last. Practice pulling it over the head during a drill so the real event does not surprise them. A hood that has never been touched is a hood that gets left behind.
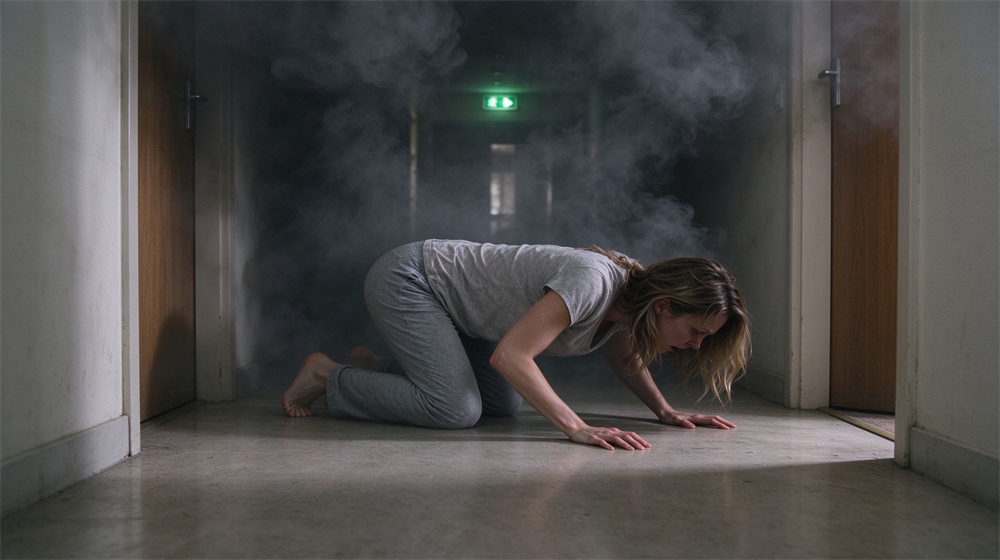
Clean air sits within about half a meter of the floor in a room that has not flashed over. That is why low crawl smoke movement is the default posture in a smoky corridor. Crawl on hands and knees, keep your nose near the floor, and use the wall or handrail to steer. Move fast enough to make progress, slow enough not to stumble over debris. If you need to rest, lie flat rather than kneeling, because lying flat puts your face in the cleanest air layer.
Do not stand up to look around. People who stand in smoke to get their bearings take the lungful that ends the evacuation. Keep your head down, follow the wall, and feel for the next door handle. If you touch a hot handle, pull back and turn around.
When you decide to shelter, the door is your shield. Wet cotton towels, bed sheets or bath mats rolled tight and wedged along the bottom gap slow the smoke creep. Tape over the gap if tape is handy, but wet towels work even without it. Close vents and turn off the air conditioning, because HVAC systems spread smoke floor to floor. Open a window slightly for fresh air, only if smoke is not coming from outside that side. More on fire blanket wrap and thermal protection can be found on our dedicated fire blanket page.
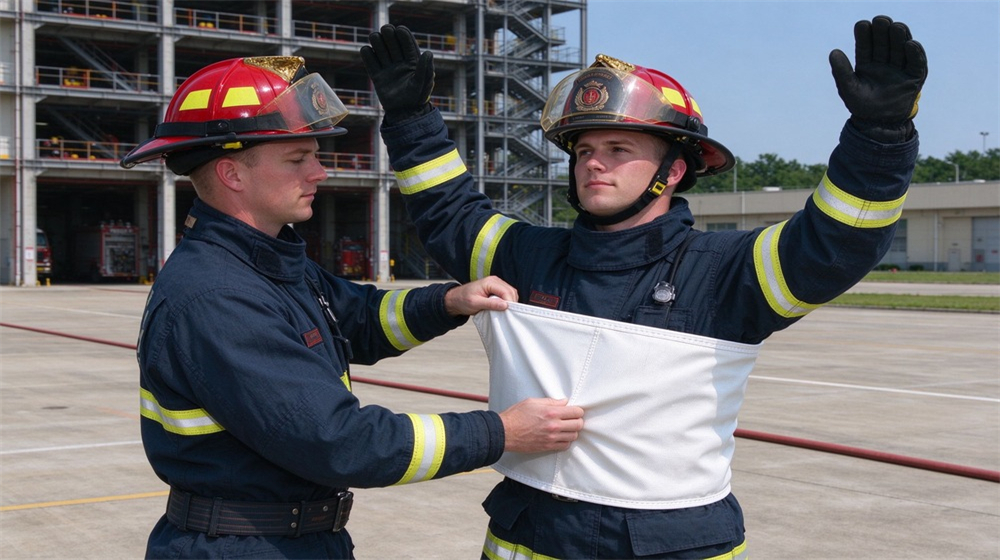
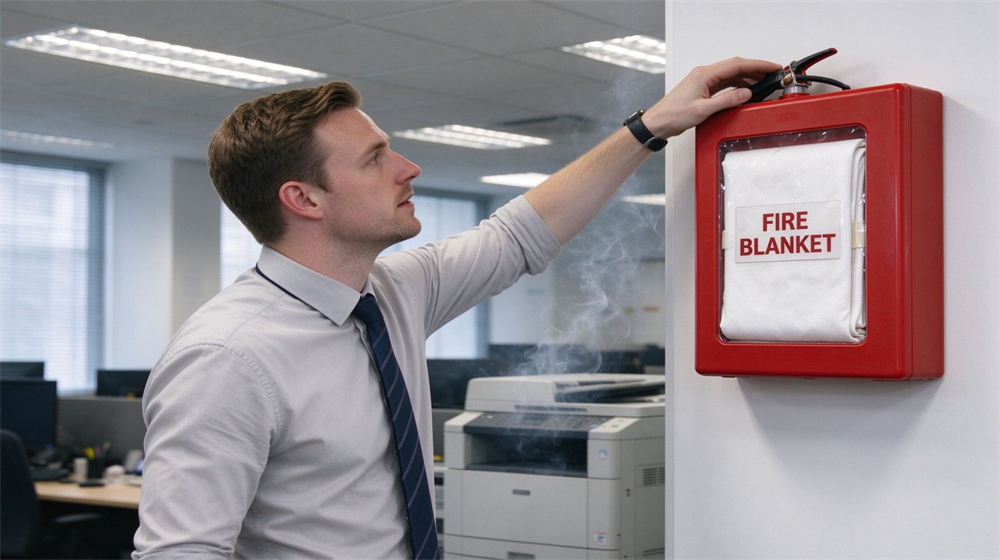
If you must move through a brief flame patch in a hallway, a wool blanket or a fire blanket held open in front of you acts as a heat shield. Pull it over your head and shoulders, keep moving, and do not stop. The blanket is for crossing a short hot zone, not for standing and fighting the fire.
Buyers usually come with a building, not a product list. A fire escape equipment checklist for a high rise home is short, and most of the items cost less than a dinner out. The expensive part is not buying it; it is storing it where you can actually reach it in the dark, and practicing with it. Below is the list that matches the three options above. For example, rechargeable handheld emergency lights for building evacuation.
First, a working smoke alarm outside every sleeping room, as the Red Cross recommends for every sleeping area. Test it monthly and change the battery twice a year. Second, a bright flashlight with fresh batteries, kept by the bed and by the front door. Third, a whistle or a small air horn, so you can signal rescuers without screaming your voice raw. Fourth, a fire escape hood per person in the household. Fifth, a fire blanket near the kitchen and near the bedroom exit. These five items cover ninety percent of residential fire events.
For households above the sixth floor, add a sixth item: a personal escape rope system matched to your floor height. We cover that in detail in the next section. For households with elderly members, add a mobile phone kept on the nightstand, a pair of thick soled shoes by the bed, and a spare key to the building exit hanging by the door. You do not need a ladder truck on your balcony. You need the basics, working, every month.
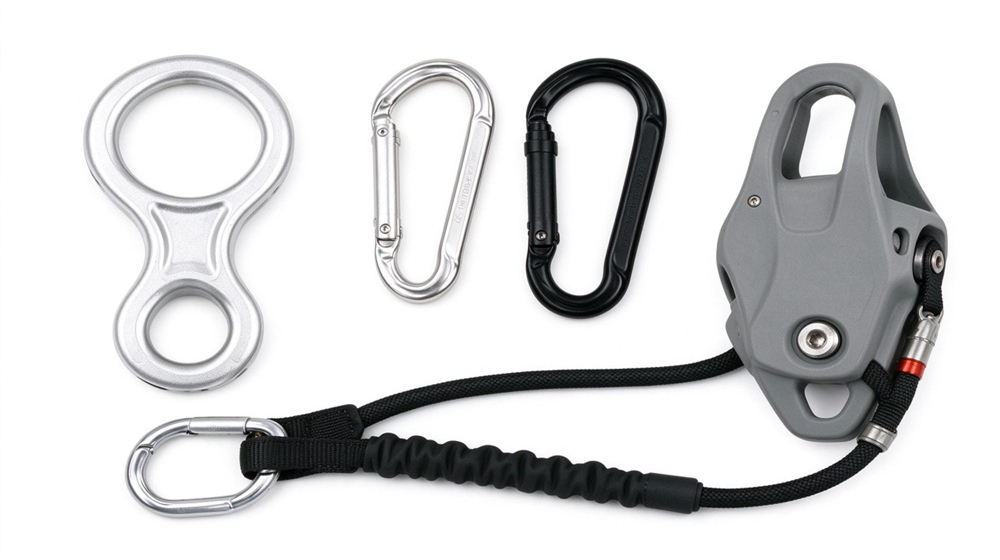
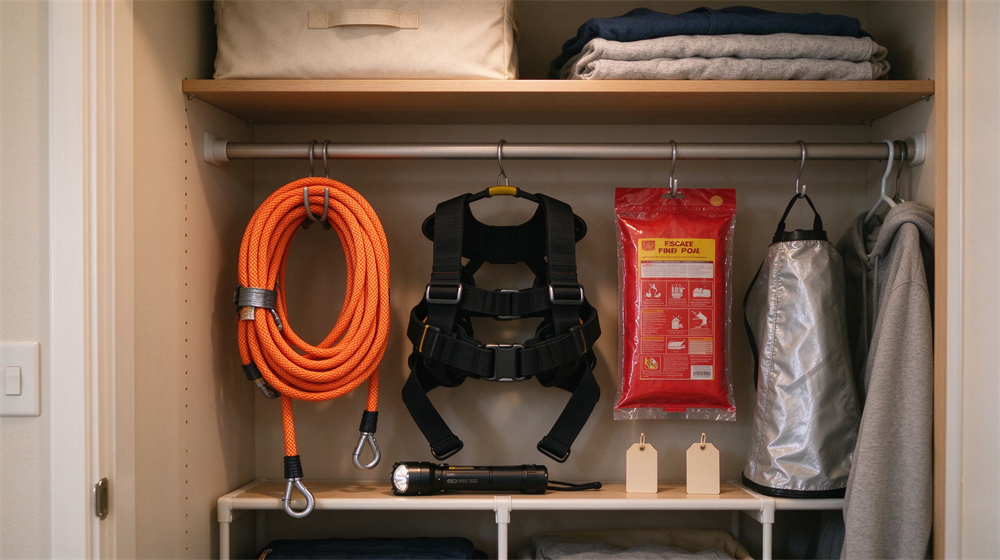
The well-designed escape kit in the world struggles if it sits behind the winter coats in the back of a closet. Store it in a clear, labeled bag or bin near the exit you would actually use. A hook on the wall by the front door, a bin under the entry bench, or a small shelf inside the bedroom closet all work. Every member of the household should know where it is and what each item does. For a deeper look at the rope and harness pieces, browse the escape rope and safety harness page.
|
Item |
Where It Sits |
Check Frequency |
|
Smoke alarm |
Outside each bedroom |
Monthly test |
|
Flashlight |
Bedside and entry |
Battery twice yearly |
|
Smoke escape hood |
By bedroom exit |
Inspect every 6 months |
|
Fire blanket |
Kitchen and bedroom |
Visual check yearly |
|
Whistle |
In escape kit bag |
Confirm present each drill |
|
Escape rope and harness |
Balcony or window exit |
Inspect every 6 months |
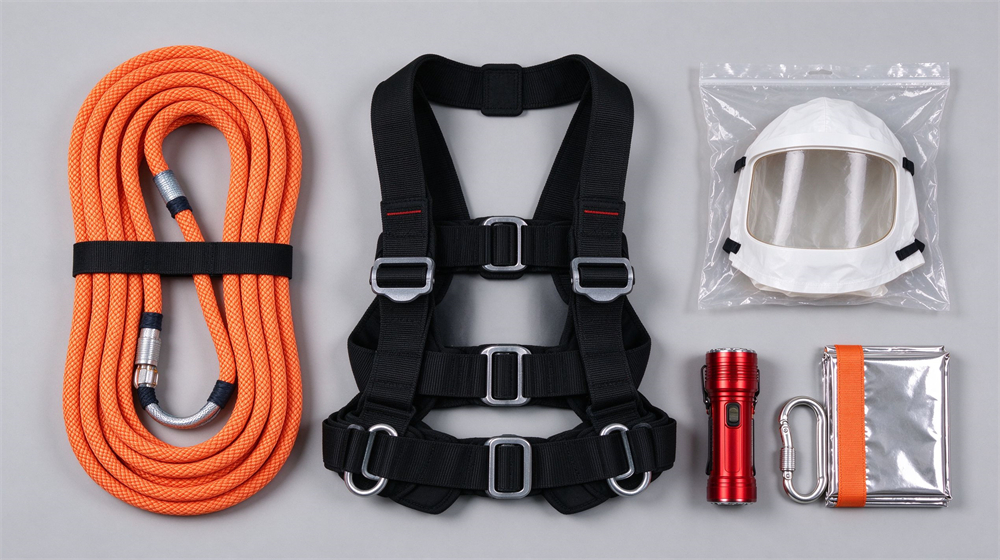
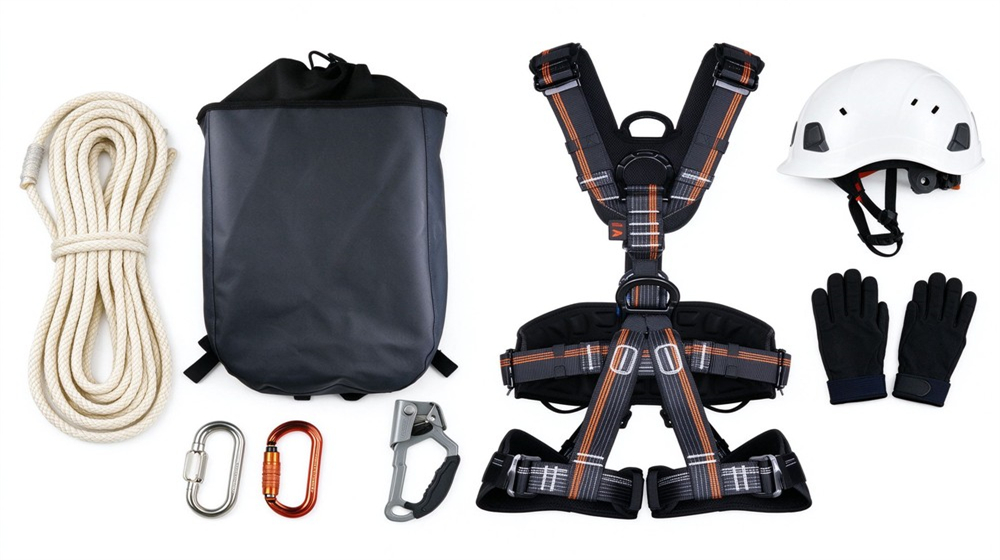
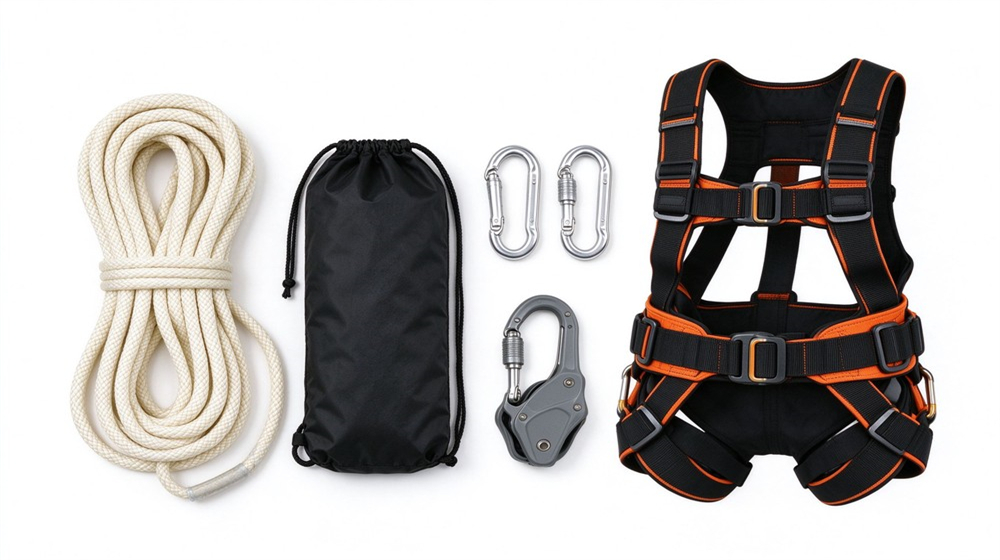
An escape rope harness system is the piece that makes Option 3 real. It is also the piece most likely to be bought and never touched. Choosing the right fire escape rope for high rise use, anchoring it correctly, and practicing before you need it are the three lines between a useful tool and a decorative coil on the wall. For the procurement side of these same pieces, the fire equipment buying guide explains how crews select and certify gear.
Pick a static kernmantle rope, not a dynamic climbing rope. Static rope stretches very little, which is what you want for a controlled descent. Diameter around ten to twelve millimeters is standard for human escape. Length should exceed your floor height by at least ten meters so the tail reaches a balcony or the ground. Match the rope to a full body harness with a front tie in point, not a simple seat belt. Pair it with a figure eight or an eight shaped escape descender that lets you control speed with body position. All components are tested to EN 1891 rope and EN 361 harness standards. For example, professional water rescue helmets for head protection during escape.
Rope material matters more than color. Kernmantle means a tightly braided jacket over a parallel fiber core, which resists abrasion on a concrete window frame. Confirm you are not using twisted three strand utility rope, which is not built for body weight and can unravel under load. Buy one continuous rope, not a rope tied from two shorter pieces. A knot in an escape rope is a point of stress under load.

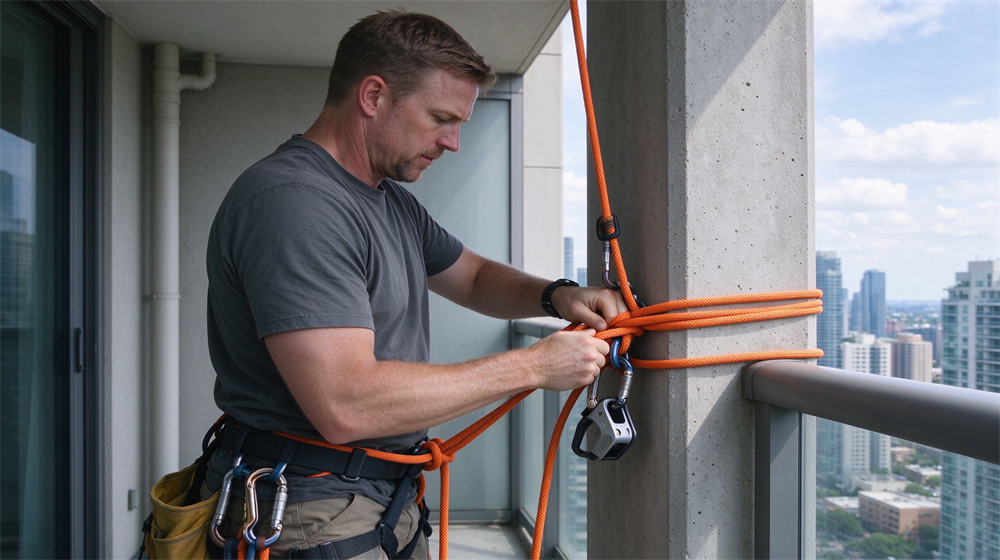
The anchor is the most overlooked part of the system. A rope tied to a flimsy balcony railing, a curtain rod or a drain pipe will pull loose. Tie it to a structural concrete column, a heavy steel beam, or a purpose made wall anchor bolted into concrete. Test the anchor with your full body weight before you ever need it. Use a screw gate steel carabiner, not an aluminum one, and check that the gate closes and locks. More on anchor and hardware selection is on the escape rope safety harness page.
Run the rope over the window or balcony edge with a protector sleeve, so the concrete edge does not saw through the jacket during the descent. Load the system slowly, let the descender take your weight, and keep your body facing the wall. Do not jump off the ledge; lower yourself over the edge and walk down the wall face. If the rope is too short to reach the ground, plan to reach the next balcony down and re anchor there.

Put the harness on once a year in daylight, in your living room, with your feet on the floor. Get used to the chest strap, the leg loops and the buckle. Practice tying the anchor knot blindfolded, because a real event will be dark, smoky and stressful. If possible, take a one hour community rescue class that lets you do a real low height descent from a training platform. People who have never worn a harness cannot put one on correctly in a smoke filled room.
Inspect the rope every six months. Lay it out, run your gloved hand along the whole length, and look for flat spots, fuzzing, chemical stains or UV damage. Replace any rope that has been used in a real load, even if it looks fine. Store it in a rope bag away from sunlight, batteries and chemicals. A dry, cool, dark shelf doubles the life of the jacket.
The same fire behaves differently depending on which kind of high rise you are in. Your apartment has your belongings, your bed and your planned exits. An office has hundreds of strangers, shared printers and long corridors. A hotel room has an unknown layout and a fire alarm you may sleep through. Each setting changes the first few seconds of your plan. Tailoring your high rise fire escape plan to the setting is what turns a generic drill into a real personal script.
In an apartment, you control the kit, you know the two stairwells, and you have neighbors on your floor. Use that advantage. Walk the second exit at least once. Know where the fire department connection and the building alarm panel sit. Agree with your family on the outside meeting point. A practiced residential fire drill twice a year means no one freezes when the alarm really sounds. Children should know to go low and crawl, not to hide under the bed. This is the core of apartment fire safety: rehearse when the building is calm, so the first alarm is familiar.
In an office, office building fire escape works most effectively when everyone follows the designated stairwell and no one stops at their desk to grab a laptop. Notice the exit signs on your floor on day one. Know whether your stairwell goes all the way down or switches over to another stair at a transfer floor. During a real alarm, leave coffee cups, bags and phones, close the door behind you, and move with the crowd but do not get swept along by it. Good office building fire escape habits are built in the quarterly drill, not invented on the day.
When you check into a high rise hotel, hotel fire safety starts in the first five minutes. Open the closet, locate the fire escape map posted on the back of the door, count the doors from your room to the nearest stairwell. That count matters because in a smokey hotel hallway you will crawl by touch, not by sight. Know whether your room faces the inner court or the outer facade, because sheltering on the outer wall gives rescuers a window to find you.
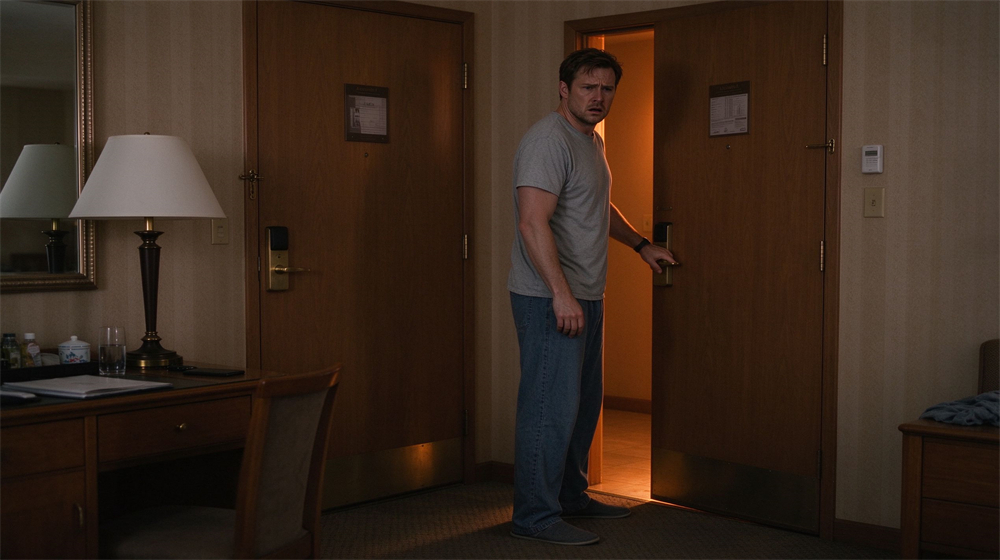
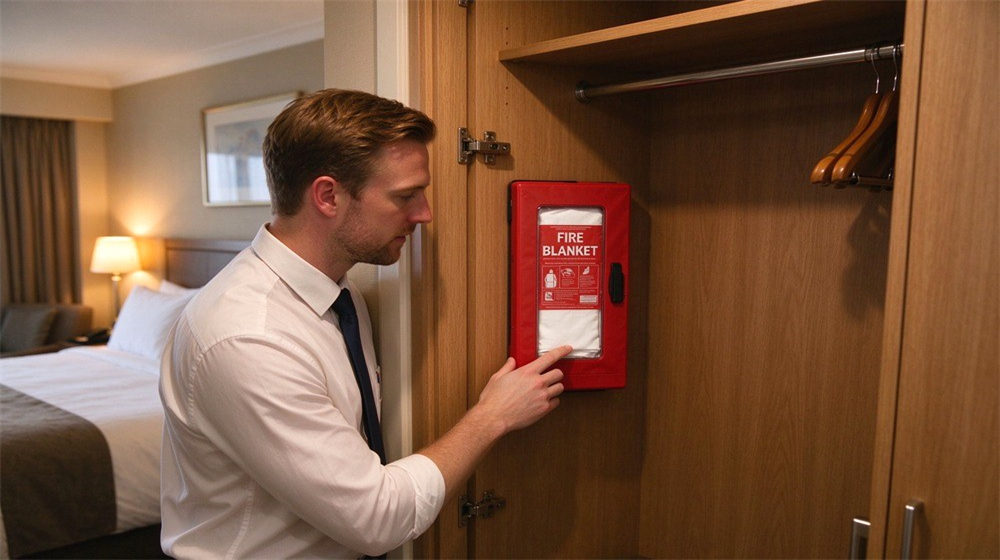
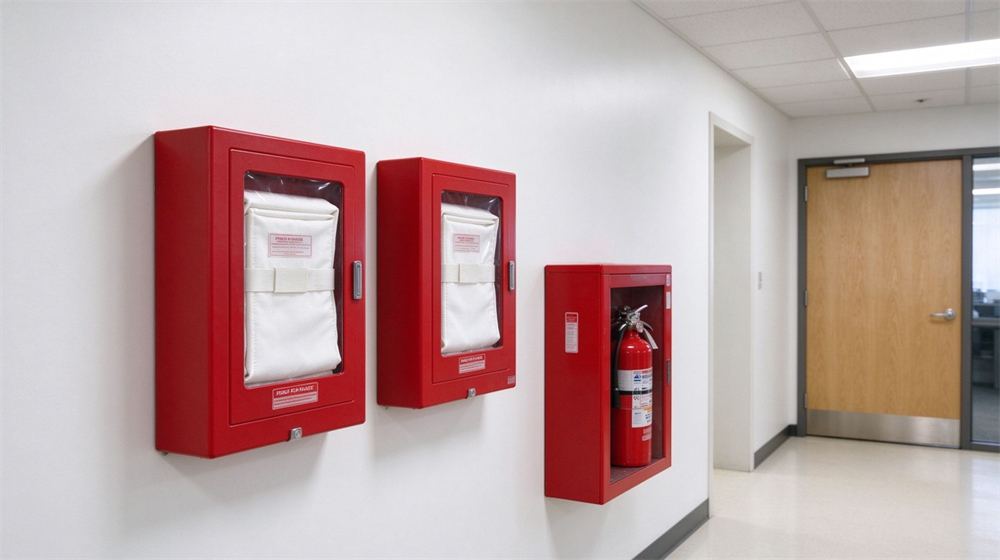
Do not sleep through the alarm. If you wake to a beeping alarm, sit on the edge of the bed and feel the door before you stand. If the door is cool, put shoes on, grab the room key, and follow the glow signs to the stairwell. If it is hot, shelter in the bathroom, run a wet towel under the door, and call the front desk. For a visual reference, the fire blanket page shows how hotels and households store wall mounted protection. Good hotel fire safety is a five minute habit at check in that pays off if the night takes a difficult turn.
Schools, hospitals and shared dorm buildings run drills for the same reason: familiarity beats panic. A drill that feels silly once a quarter is the reason the same people move calmly when the real alarm rings. If your building does not drill, ask the property manager to start one. Documented drills are also a sign of responsible building management, which is one of the features to look for when you rent or buy.
|
Setting |
First Action |
Watch Out For |
|
Apartment |
Feel door, wake household, meet outside |
Grabbing belongings, pet rescue delays |
|
Office |
Leave desk, use designated stairwell |
Crowd crush, elevator temptation |
|
Hotel |
Read exit map, count doors to stairs |
Sleeping through alarm, unknown layout |
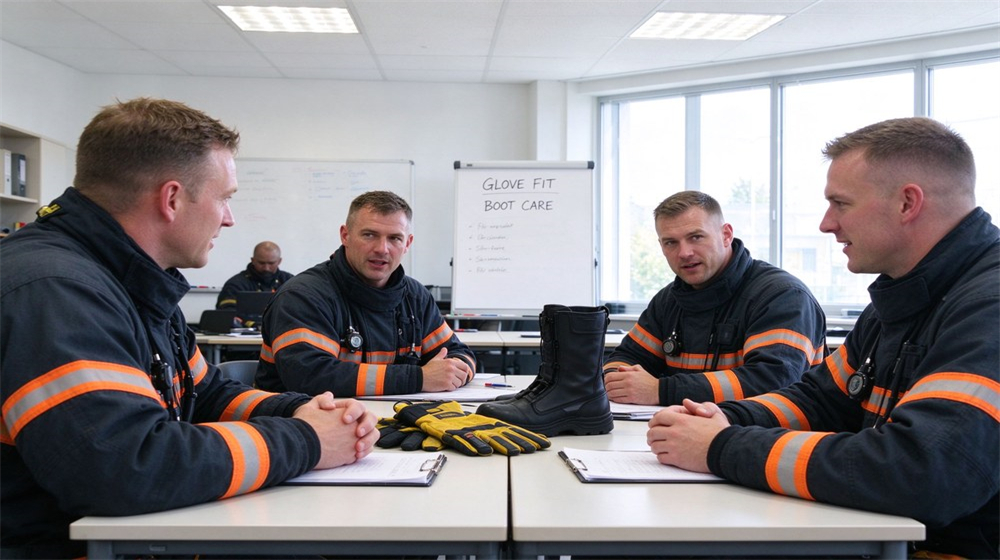
Your personal gear only goes so far. The building itself is the layer that buys you time. When you rent, buy or stay overnight, spend two minutes checking the features below. They tell you how seriously the building takes fire safety, and they shape your own building fire safety features checklist before you move in.
A protected pressurized stairwell is kept at slightly higher air pressure than the rest of the floor, so smoke cannot flow in when the door opens. The door should be a self closing fire door with a working closer, never propped open by a trash can or a door wedge. If your building has propped open doors on every floor, that is a report to the property manager, not a convenience. The stairwell should land directly outside, not through a lobby that can fill with smoke.
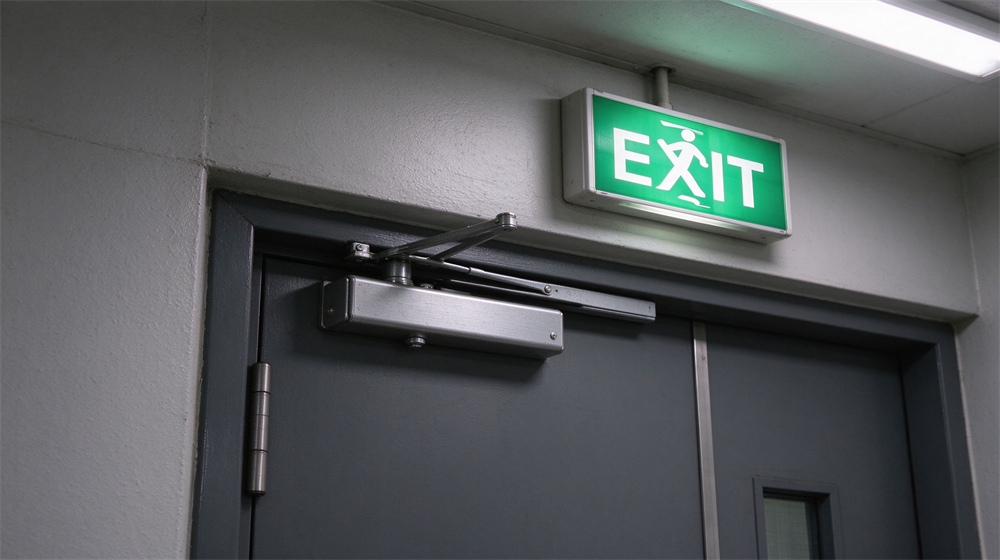
Exit signs must be illuminated and visible from the corridor. Stairwells should have emergency lighting that works on battery power when the main power cuts. On your first walk through the building, note whether the exit sign on your floor lights up when you cut the lights in the hallway. If it does not, report it. A sign you cannot see in a power outage is a sign that does not work.
Every sleeping room should have a smoke detector, and the building should have a central alarm that sounds on all floors when smoke is detected. There should be a public address announcement that tells you which floor is affected and whether to evacuate or shelter. Outside, there should be a clearly marked meeting point fire assembly area, away from the building facade and the driveway, so the headcount is safe. Ask the property manager how often the alarm is tested and where the muster point sits. Answers that sound vague are a warning sign.
If you live in a building that allows gas cooking, check that the kitchen hoods have automatic suppression and that the gas shutoff valve is accessible. If you work in an office with a server room or a battery room, ask whether those spaces have dedicated detection. These features are not decorative; they are the difference between a small contained event and a building wide evacuation. A well maintained building turns building fire evacuation from a scramble into an orderly walk. For what responders do after residents are out, the fire injury first aid guide covers on scene care.
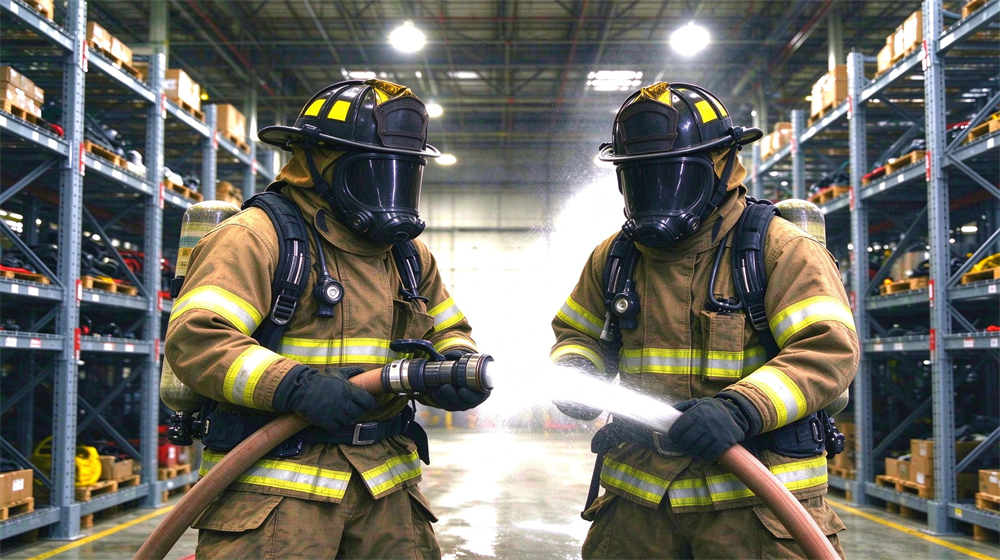
Most high rise fire injuries do not come from exotic hazards. They come from a short list of small decisions that look reasonable at the moment but turn out incorrect. The list below is written as positive points to confirm, so you can run through them once a quarter with your household or your office team. Treat it as a checklist, not a lecture. These key points to confirm take two minutes a quarter.
From every room you sleep or work in, confirm you can reach two different exits. If one is blocked by smoke, the second is your fallback. Draw the route on a small card and stick it on the fridge. Re confirm the route once a year after furniture changes or after a renovation that seals off a corridor. A route that existed six months ago may not exist today.
Confirm that everyone in the household touches the door with the back of the hand before opening, every time, even in a drill. Muscle memory matters. People who skip the habit in drills walk into a smokey hall in the real event. Pair this habit with closing the door behind you, so the stairwell stays clean for the people above.
Confirm that the escape kit hangs where you can grab it in the dark. Test this once a year: turn off the lights, walk to the kit, and put on the harness and hood. If you fumble, rearrange. Confirm batteries in the smoke alarm and the flashlight are fresh. Confirm the rope has not been moved to make room for holiday decorations. A kit that is out of sight during a drill is a kit that is out of reach during a fire.
Confirm the outside meeting point fire assembly area is far enough from the building that firefighters can work. The edge of the sidewalk directly in front of the door is not the right spot. The far side of the parking lot, the mailbox at the end of the drive, or the neighbor's front path all work. Everyone in the household goes there, no exceptions, even if the cat or the keys are still inside. Re confirm the meeting point after moving or after the building landscaping changes.
For a broader view of the equipment families that support high rise evacuation, browse the main firefighting and escape equipment aggregation page, which groups turnout gear, SCBA, helmets, blankets, ropes and protective wear in one place. The FEMA Ready campaign repeats the same message: plan two ways out. The goal is not to become a firefighter. The goal is to walk out of your building calmly, twice a year as a drill and once in your life when it counts.
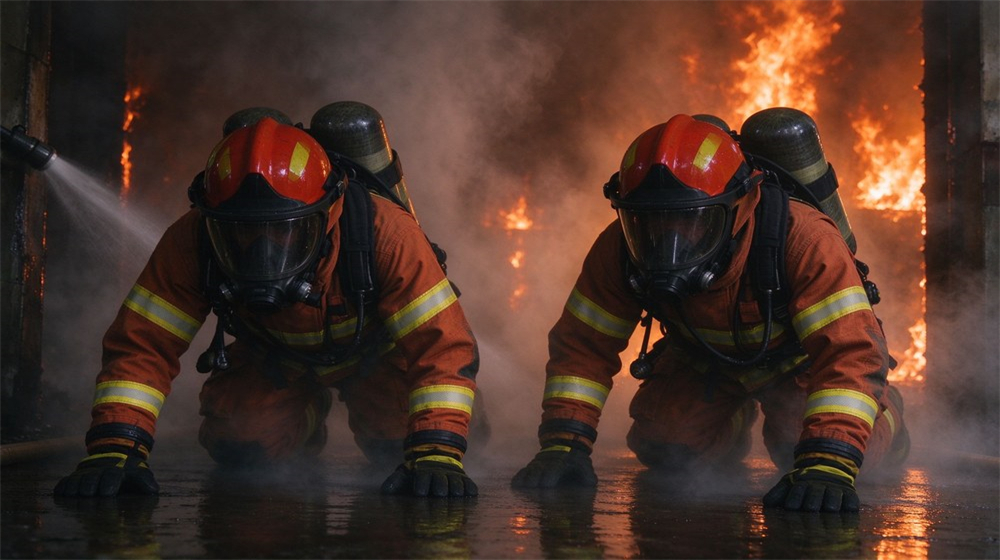
The questions residents ask most often, answered in plain terms before the alarm sounds. Every answer ties back to the high rise fire escape guide decisions above.
If your exit path is clear and the fire is below you, evacuate down the stairs immediately. If smoke blocks the corridor or your door is hot, shelter in your apartment, seal the door, call the fire service and wait for rescue. The door temperature check decides which path you take.
Hot smoke can rise up a stairwell or open shaft at several meters per second, filling upper floors within minutes. Smoke is the leading cause of fire death, which is why you stay low, cover your airway and never use elevators.
Only if you have practiced, anchored the rope to a structural point, wear a proper harness and the height is within your rope length. A rope is a last resort when stairs are blocked and rescue cannot reach you. It is not a casual plan for everyday drill.
Stay low where air is cleaner, cover your nose and mouth with a wet cloth or a smoke escape hood, move quickly but calmly, and seal gaps around doors with wet towels. Do not wait to gather belongings.
Pick a kernmantle static rope rated for human escape, length matched to your floor height with extra tail, paired with a full body harness and a controlled descender. Inspect it before each season and store it near the balcony or window exit.
Always use the stairs. Elevators can stop between floors, fill with smoke or open on the fire floor. Use the enclosed fire stairwell, stay to the right and let firefighters pass going up.
Feel the door. If cool, leave and follow the illuminated exit signs to the nearest stairwell. If hot, stay in the room, wet towel the door gap, call the front desk or emergency number, signal from the window and wait.
Practice twice a year. Walk the two exit routes from each bedroom, agree on a meeting point outside, check the smoke alarm and confirm where the escape kit is stored. Children and elderly residents benefit most from repetition.
At minimum: a smoke escape hood, a flashlight, a whistle, a small first aid kit, bottled water, and for higher floors an escape rope with harness and descender matched to your floor height.
Only if smoke is entering your room through the door and you need to ventilate, and you should cover the broken glass with wet cloth afterward. Breaking windows unnecessarily can pull more smoke and flame into the room through airflow.
Shelter in place means staying inside your apartment or hotel room when the corridor outside is unsafe. Seal the door with wet towels, turn off airflow, call emergency services, and wait for firefighters to reach you rather than moving through smoke.
Feel the stairwell door with the back of your hand. If it is cool and no smoke comes out, open it slowly and descend. If it is warm or smoke is present, close it and return to shelter in place.
Look for pressurized fire stairwells, self closing fire doors, smoke detectors in every bedroom, visible exit signs, a clear outside meeting point, and regular fire drill records. Ask the property manager about the building evacuation plan.
They should pre identify a refuge area near the stairwell on their floor, inform the fire service of their location, and rely on a shelter in place room if stairs are not accessible. Neighbors should agree on a check in plan.
Stored in a dry cool place, a kernmantle rope lasts several years, but inspect it for fraying, UV damage or chemical exposure every six months. Replace any rope that has been loaded in a real fall, even if it looks fine.
Choose suppliers that provide test reports to relevant standards, such as EN 1891 for kernmantle rope and EN 361 for full body harness. Read our related pages on fire blankets and escape ropes for configuration options.
YRF High Rise Fire Escape Reference
Practical guidance for residents, office workers and hotel guests on building evacuation, smoke protection, escape ropes and home fire safety. Related equipment: fire blankets, escape ropes and harnesses, smoke hoods and protective gear.
Pautan Mesra :
hak cipta © Custom Disaster - Relief Bedding: Tents, Sleeping Bags, Blankets Hak cipta terpelihara
pasukan profesional untuk perkhidmatan !